

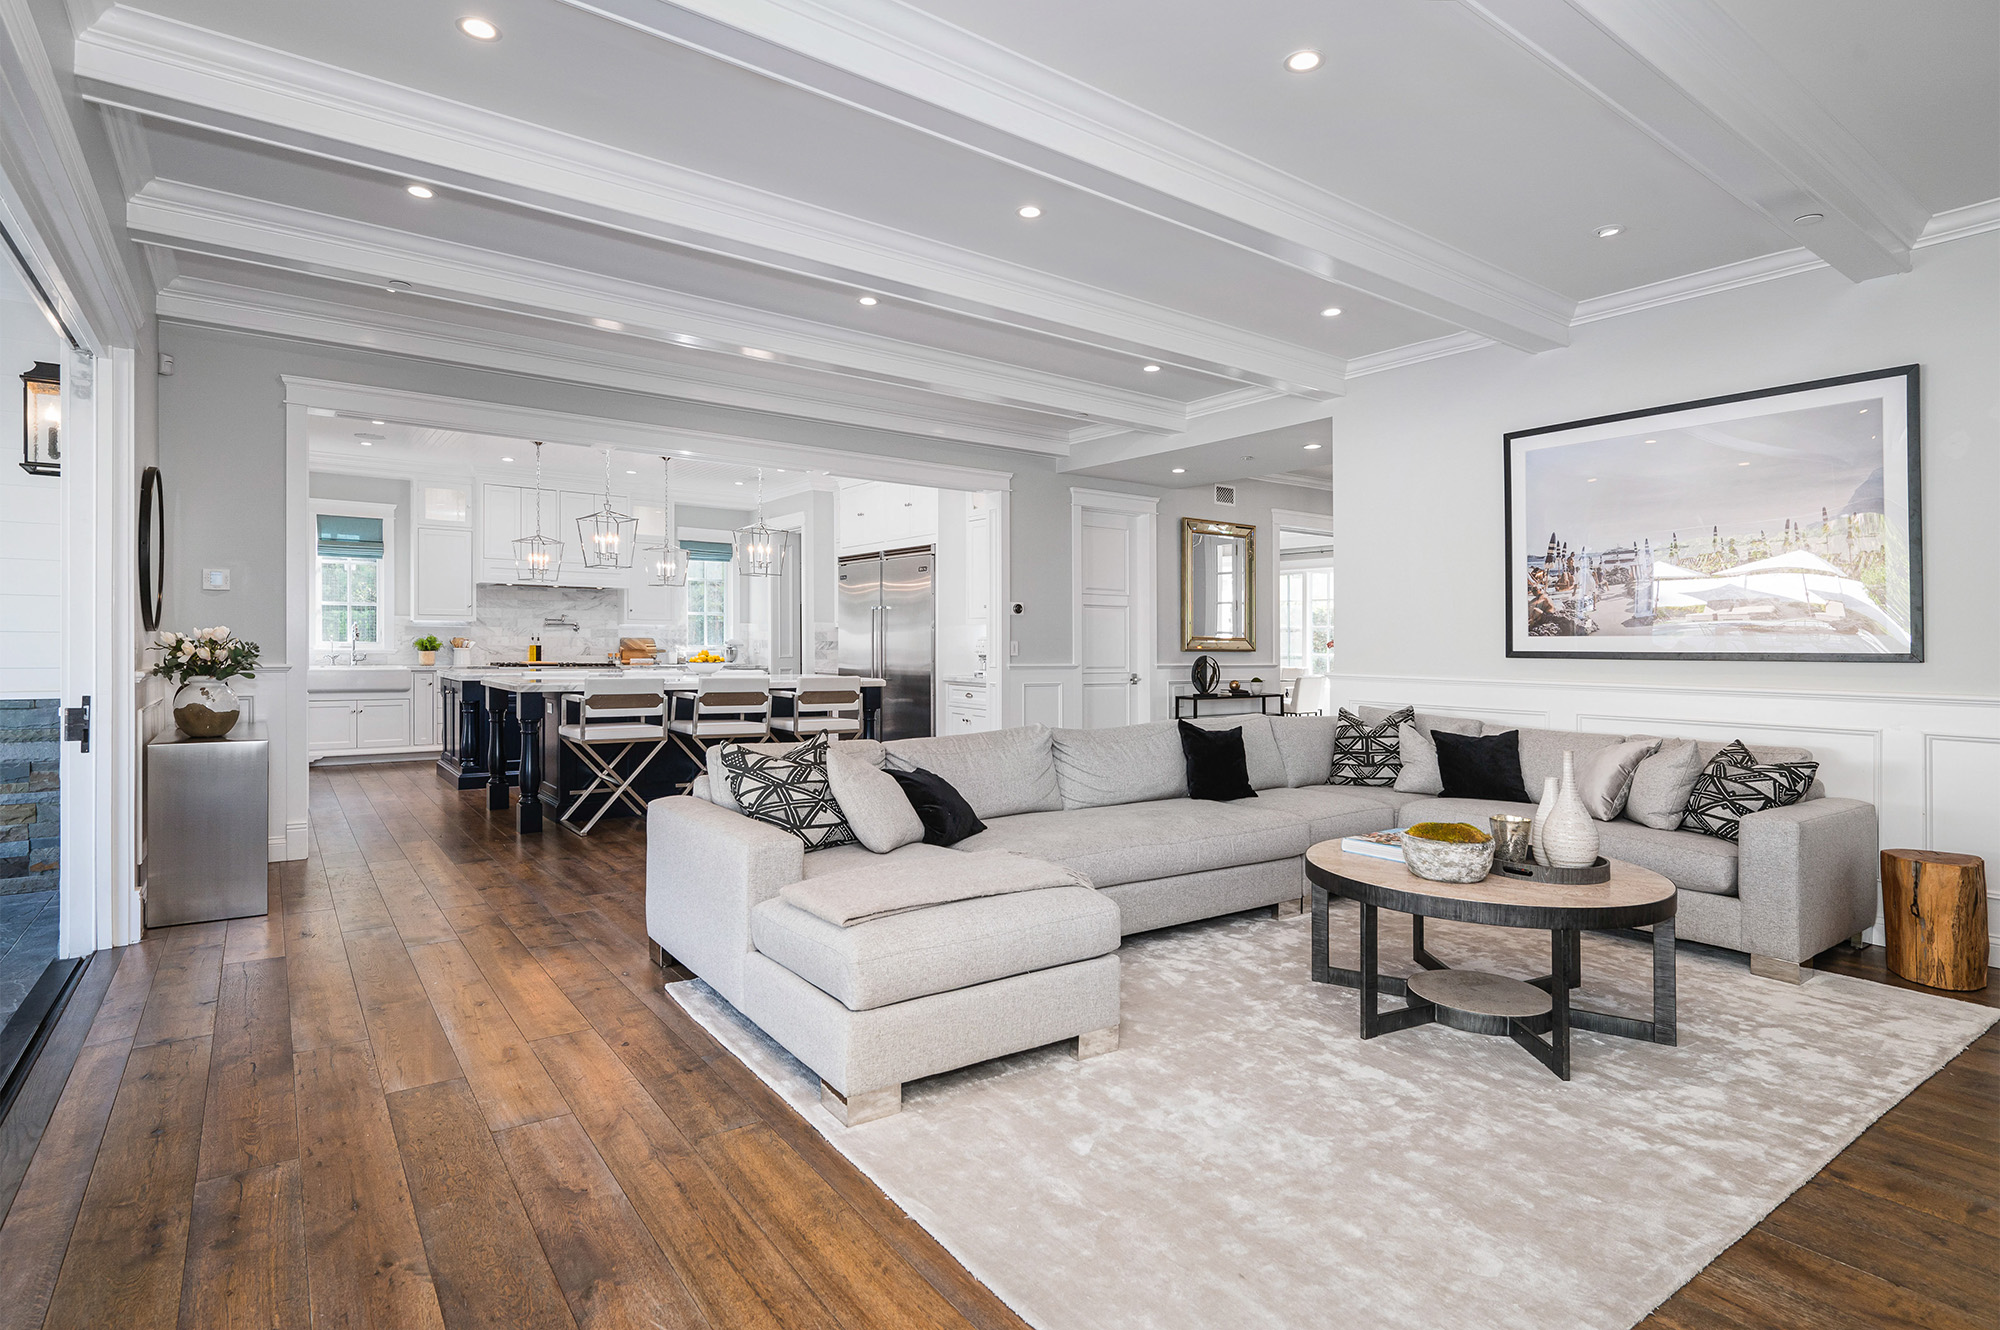
You know your floors are on borrowed time. Maybe the carpet never quite recovered from the last hurricane season, or the builder-grade vinyl in your kitchen is curling at the seams. You’re ready for a fresh start, but as soon as you start pricing things out, the numbers blur together: square feet, material costs, installation, trim, moving furniture. The project can feel bigger than your budget before you even measure a room.
A clear plan changes that. When you understand the pieces that make up a flooring quote, you can decide where to invest, where to save, and whether laminate or vinyl makes more sense for your home.
Step 1: Know Your Real Project Size
Flooring budgets live and die by square footage, so start with accurate measurements. Measure the length and width of each room, then multiply to get square feet. Add 5–10% for waste, depending on how many angles, closets, and hallways you have.
In older homes and beach cottages around the Cape Fear region, rooms are rarely perfectly square. That means you’ll need a bit more overage than a simple box-shaped new build. Planning for that extra material up front keeps you from surprise add-ons later.
Once you have your rough numbers, it’s easier to explore options in our laminate catalog and see how many boxes or rolls you’re really talking about.
Step 2: Set a Material Budget Range (Laminate vs. Vinyl)
With square footage in hand, you can build a realistic material budget. Today’s laminate and sheet vinyl both offer strong value, but they do it in different ways.
Laminate typically delivers a very convincing wood look at a mid-range price point. Many of our Mohawk RevWood lines are designed to handle the humidity swings we see near the coast, and several are fully waterproof. If you want the look of hardwood without hardwood pricing, laminate is usually the sweet spot.
Sheet vinyl, on the other hand, often comes in at a lower installed cost per square foot and shines in bathrooms, laundry rooms, and rental units where moisture and fast cleanup matter more than texture. When you browse our vinyl sheet selection, you’ll see options that mimic stone tile, ceramic, and even decorative patterns that can stretch your design without stretching your budget.
A smart way to plan: set a per-square-foot range for materials (for example, “I’d like to stay between $X and $Y”), then mix surfaces by room. Many homeowners pair waterproof laminate in living areas with vinyl in baths and laundry to keep the overall project budget in check.
Step 3: Don’t Forget Installation and Prep
Material is only half the story. Installation, subfloor prep, and trim pieces can add 30–50% to the total project cost, especially in homes with uneven slabs or old flooring glued down.
Here are a few line items to include in your rough budget:
- Tear-out and disposal of existing flooring
- Subfloor repairs or leveling (common on older slabs and in homes that have seen moisture)
- Underlayment for laminate to help with sound and comfort
- Transitions, reducers, and stair nosing
- Labor for moving heavy furniture or appliances
In a humid, hurricane-prone area, subfloor condition is not the place to cut corners. If you’ve had past water intrusion, budgeting for proper prep now protects your new floors for years. When you’re ready to move from ballpark numbers to specifics, our team can explain how different materials and subfloors affect professional flooring installation costs.
Step 4: Balance Style Goals with Long-Term Value
Budgeting isn’t just about the lowest number; it’s about where each dollar does the most work. That’s especially true in spaces that see a lot of sand, salt, and traffic, like homes in Wrightsville Beach or busy family houses in Leland.
Consider these tradeoffs as you fine-tune your plan:
- Upgrade where you live the most. Put a bit more of your budget into the main living areas and primary bedroom, where you’ll see and feel the floor every day. Use more economical vinyl in secondary spaces.
- Think about resale. A cohesive wood-look laminate throughout common areas can make your home feel larger and more updated to future buyers.
- Plan for durability. Pets, kids, and vacation renters are hard on floors. Higher-end laminate or tough sheet vinyl can be cheaper than replacing a bargain option in a few years.
If you’re still sorting out colors and patterns, our design inspiration galleries can help you visualize how different looks might work in your rooms before you commit.
Step 5: Build in a Contingency and Get a Precise Quote
Once you’ve penciled out materials and installation, add a 10–15% contingency. In real projects, hidden issues under old floors or small layout changes are common, especially in older Wilmington houses. A little cushion turns those surprises from budget-busters into manageable adjustments.
From there, the smartest move is to turn your rough math into a detailed proposal. A professional measure will confirm your square footage, check subfloor conditions, and match specific laminate or vinyl products to your budget and lifestyle.
When you’re ready to see real numbers instead of guesses, you can request a free estimate and we’ll help you design a flooring plan that fits both your home and your budget.


